Web Design
How to Migrate a WordPress Site to a New Host, Step by Step
Migrating WordPress to a new host means copying the files and database to the new server, updating wp-config.php, replacing URLs safely if the address changes, and pointing DNS at the new server. This guide covers both routes, with a plugin and by hand, step by step.
By Mehmet ÇalışırPublished 13 min read
Contents
This guide is for business owners switching hosting providers, agency teams moving client sites to new servers, and developers upgrading a site from shared hosting to a VPS. We start with what a migration actually involves and how to plan it, then walk through the plugin route and the manual route, the DNS and SSL switch, and the checks that protect your search rankings afterwards. The goal: a site that settles into its new home without downtime and without losing traffic.
What does migrating a WordPress site involve?
Site migration means moving a website's files, database and settings from one environment to another while keeping its addresses and behaviour intact. With WordPress there are two halves: the files on disk and the MySQL or MariaDB database. Miss either one and the site won't load, or it will look like a fresh, empty install.
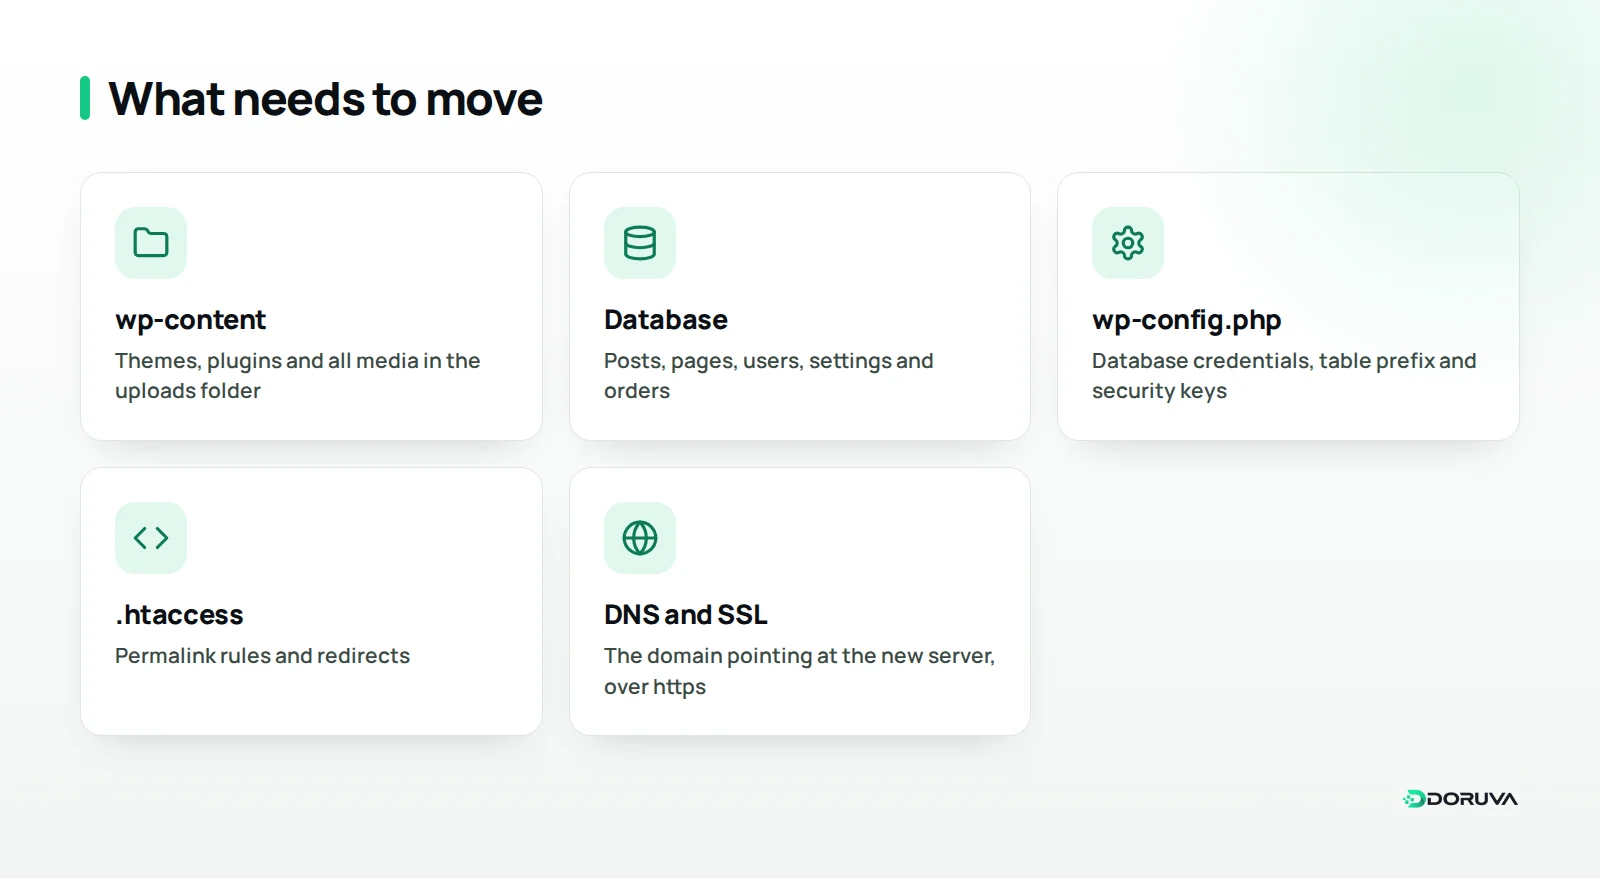
Here is what you need to move:
- The wp-content folder: themes, plugins and every image and document in uploads. Almost everything unique to your site lives here.
- The database: posts, pages, menus, users, comments, plugin settings and, if you run WooCommerce, orders.
- wp-config.php: database credentials, the table prefix and security keys.
- .htaccess and custom rules: permalink rules, redirects and server-specific settings.
- WordPress core files: you can bring these over with a clean install on the new server, though matching the version keeps things simple.
Three common migration scenarios
Not every migration is equally tricky. These are the three you'll meet most often:
- Same domain, new host: the address doesn't change; you copy files and database and point DNS at the new server. This is the main focus of this guide.
- New domain or protocol: moving from http to https or to a different domain. Here, replacing addresses in the database safely becomes critical.
- Local to live: a site built on localhost goes onto the client's domain. The URL, the server path and often the table prefix all change at once.
How should you prepare before migrating?
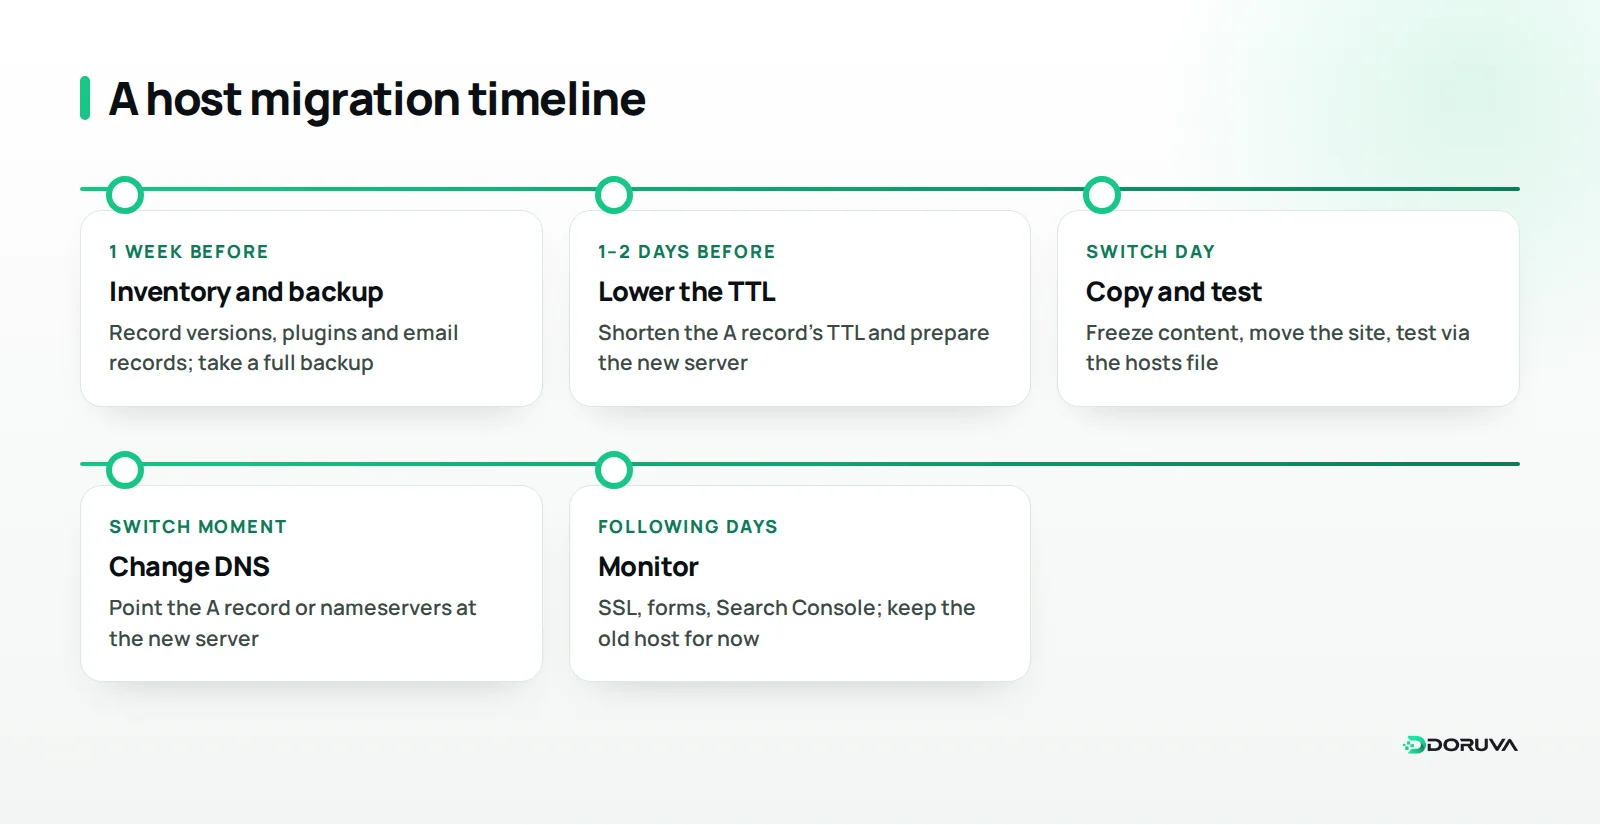
Half of a good migration happens before you touch a single file. Preparation means an inventory, a backup, a test environment, a DNS tweak and the right timing.
Take an inventory
You can't rebuild on the new server what you never recorded on the old one. Write down:
- WordPress, PHP and database versions, and confirm the new host supports them.
- Active plugins and theme, plus any that need a licence key.
- The size of the uploads folder and of the database.
- Server-side cron jobs, custom PHP settings and .htaccess rules.
- Email: does your company mail live on the old host? MX records can be affected by the DNS change.
- Anything sitting in front of the site, such as a CDN, firewall or caching service.
Make a full backup and store it safely
Before you start, take a full backup of both files and database and keep it off the server, on your own machine or in cloud storage. If something goes wrong mid-migration, you need a clean copy that doesn't depend on the old host.
Set up a test environment
Bringing the site up on the new server first as a staging environment, a copy visitors can't see, lowers the risk. You can check the PHP version, plugin compatibility and speed without touching live traffic.
Lower the DNS TTL and pick your moment
TTL sets how long DNS records stay cached. Lower the TTL on your A record a day or two before the switch and the change will reach visitors faster when you point the domain at the new server. Schedule the switch for your quietest hours.
Picture an online furniture store: any order placed on the old server during the move is missing on the new one. For shops and sites that take comments or form entries, define a short content freeze; nobody publishes during that window, and if needed the shop goes into maintenance mode.
Plugin or manual: which route should you take?
For small and mid-sized sites a plugin is usually faster; for very large sites, when you have full server access, or when you want to control every step, a manual migration or WP-CLI suits better. This table helps you decide.
| Criterion | Migration plugin | Manual (SFTP + phpMyAdmin) | WP-CLI over SSH |
|---|---|---|---|
| Technical skill needed | Low | Medium | High |
| Large sites | Depends on how the plugin uploads | Possible, but phpMyAdmin import limits may bite | The most comfortable route |
| Server limits (upload size, execution time) | A blocker for some plugins | Fine for files, can be a problem for the database | Rarely an issue |
| URL replacement | Most plugins do it automatically | Needs a separate tool | With wp search-replace |
| Control over the process | Limited | Full | Full and repeatable |
| Best for | Shared hosting, quick moves | Servers without SSH access | VPS, agencies doing repeat work |
How do you migrate WordPress with a plugin?
Almost every migration plugin follows the same logic: you build an archive on the source site, unpack it on the destination, and the plugin adapts addresses to the new environment. The usual flow:
- Install the migration plugin on the source site and export the whole site as one archive.
- Install a fresh WordPress on the new server, or upload the plugin's installer script.
- Upload the archive and start the import; the plugin unpacks the files and imports the database.
- Log in with the source site's credentials, re-save permalinks and check the site.
Upload limits and the "unlimited extension" question
The most common sticking point is upload size. If the archive goes up through the browser in one piece, it can hit the server's upload_max_filesize and post_max_size limits. Some plugins' free versions also cap the import size themselves. That is why so many people search for the "All-in-One WP Migration unlimited extension": with that plugin, lifting the cap is a paid add-on.
If you've hit a limit, look at these alternatives before paying for anything:
- Raise the PHP upload limits in your hosting panel, if your provider allows it.
- Use an installer script that you upload over SFTP rather than through the browser (Duplicator's approach).
- Choose a plugin that uploads archives in small chunks.
- Migrate manually or with WP-CLI, as described below.
Popular migration plugins compared (free versions)
Whether All-in-One WP Migration or Duplicator suits you better depends on the size of your site and how much server access you have. All-in-One WP Migration works by importing a single file into a fresh WordPress install. Duplicator builds an archive plus an installer script; you upload both to the new server and run the installer in your browser. The table below is based on the publicly available features of the free versions.
| Feature | All-in-One WP Migration | Duplicator | WPvivid | Doruva Migrate |
|---|---|---|---|---|
| Import size | Limited in the free version | Handled via the installer script | Depends on server limits | No limit (chunked upload) |
| Standalone installer script | No | Yes | No | Yes (password-protected) |
| Scheduled backups | Paid | In Pro | Yes | Yes |
| WP-CLI | Paid | In Pro | Partly | Yes |
| Encryption | Yes | In Pro | In Pro | Yes (AES-256) |
| Cloud storage | Via paid extensions | In Pro | Yes | Not yet |
| Multisite | Paid | In Pro | In Pro | Not yet |
This comparison is based on the publicly available features of each plugin's free version and may change between versions. Check each plugin's current feature list before you decide.
How do you migrate WordPress manually, without a plugin?
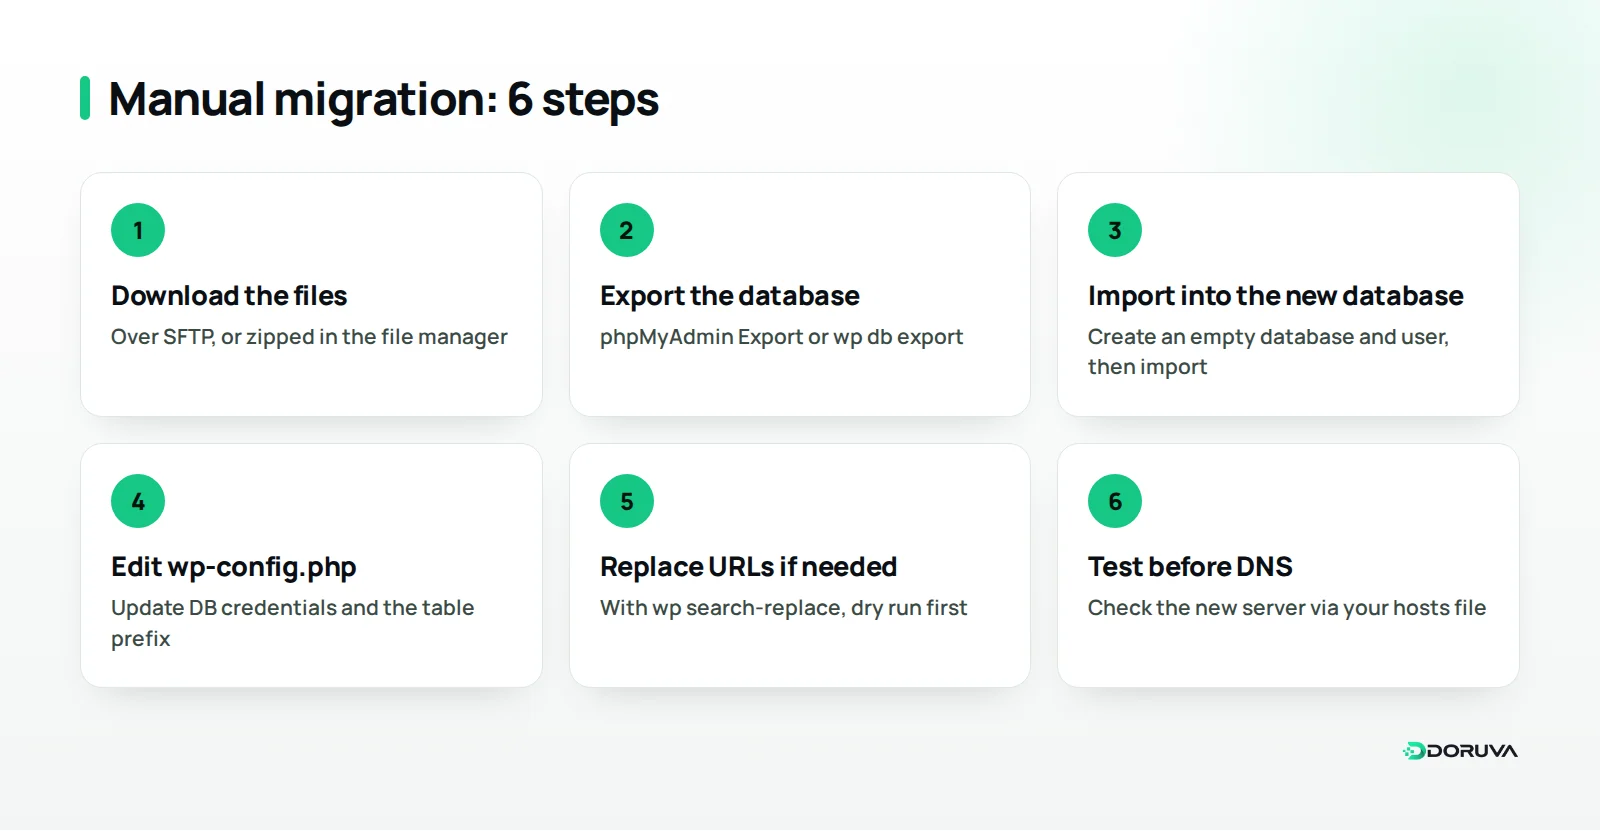
A manual migration means copying the files over SFTP or a file manager, copying the database with phpMyAdmin or WP-CLI, and editing wp-config.php for the new server. It's free, no plugin limit applies, and you stay in control of every step.
1. Download the files
Use an SFTP or FTP client such as FileZilla to download the site's root folder. Thousands of small files transfer slowly over FTP; if you have cPanel, compressing the folder into one zip in the File Manager and downloading that is far quicker.
2. Export the database
In phpMyAdmin, select the site's database and download it as SQL from the Export tab. With SSH access, one command does the same:
wp db export site-backup.sql
3. Create and import the database on the new server
In the new hosting panel, create an empty database and a user with full privileges on it. Upload the SQL file through phpMyAdmin's Import tab. Large files can exceed phpMyAdmin's upload limit; in that case wp db import site-backup.sql or the mysql command-line client over SSH is more reliable.
4. Upload the files and edit wp-config.php
Upload the files to the new server's web root (public_html on most panels). Then update DB_NAME, DB_USER, DB_PASSWORD and DB_HOST in wp-config.php to match the new database. $table_prefix must match the prefix of the tables you imported, or WordPress will greet you with its installation screen.
5. Replace URLs safely if the address changes
If the domain stays the same, skip this step; that's the easy part of a host move. If the address changes (new domain, https, a subfolder), you need to replace the old URLs in the database. Watch out for serialized data: WordPress and plugins store many settings in a format that records each string's length. A plain SQL REPLACE changes the text but not the length, and the result is vanishing widgets and theme settings that look reset.
The safe route is a tool that understands serialization. The wp search-replace command in WP-CLI handles serialized data correctly. Do a dry run first to see what will change, then run it for real:
wp search-replace 'https://old-domain.com' 'https://new-domain.com' --all-tables --dry-run
6. Test before you change DNS
Add a line to your computer's hosts file that maps your domain to the new server's IP address and only you will see the site on the new server. Test pages, forms, the login screen and checkout this way; when everything works, move on to DNS.
How do you handle the DNS switch and SSL?
Once the site runs cleanly on the new server, point your domain's A record at the new IP address, or switch to the new host's nameservers. Changing nameservers moves the whole DNS zone, so make sure MX, SPF and verification records exist in the new zone too, or your email may stop arriving.
DNS changes don't reach everyone at once; for a while some visitors see the old server and some the new one. Keep the old hosting account alive for a few more days and hold the content freeze until the change has settled.
The new server needs an SSL certificate. Many hosting panels issue a free Let's Encrypt certificate automatically, but validation usually waits until the domain points at the new server. Once DNS has propagated, confirm the certificate is installed, the site loads over https and the browser shows no warnings.
How do you migrate a site with Doruva Migrate?
Doruva Migrate is a free WordPress migration and backup plugin built by Doruva, coming soon to WordPress.org. It puts your site's database, media library, themes and plugins into one .doruva archive and unpacks that archive into another WordPress installation.
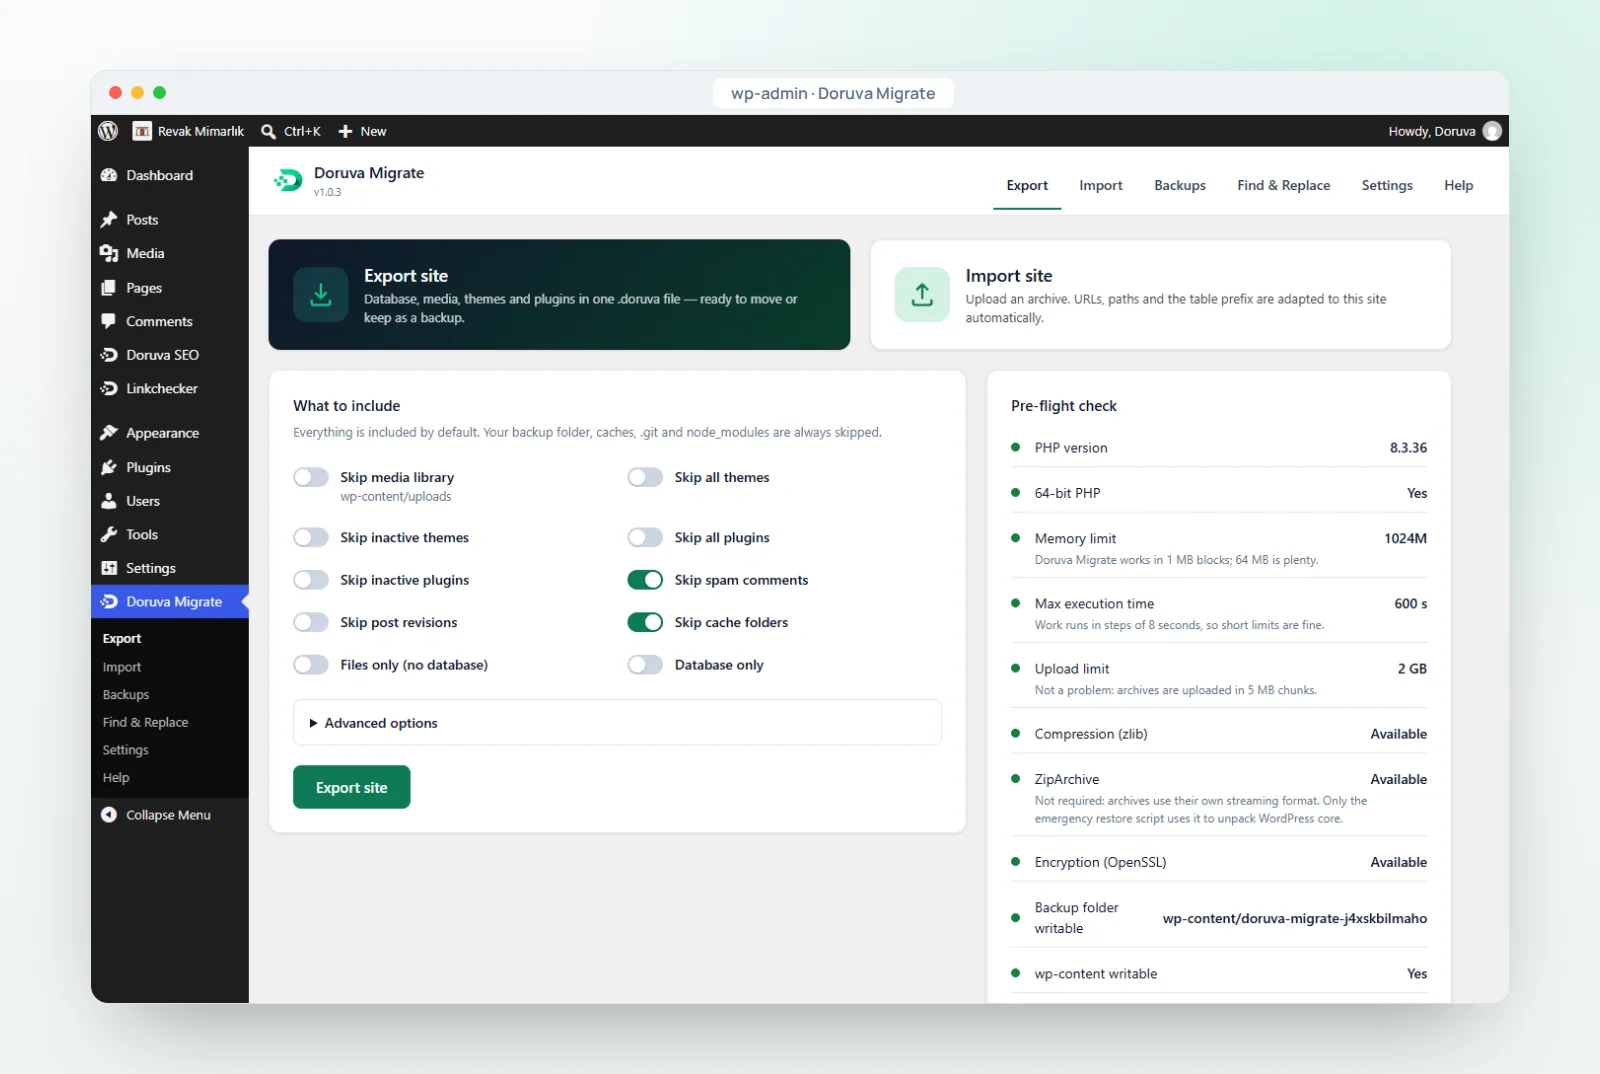
- Export: on the source site, open Doruva Migrate and click Export > Export site. You can leave out media, themes, plugins, spam comments and revisions if you like, and the plugin runs a server pre-flight check before exporting.
- Download the .doruva file: the whole site is in one file, and you can create it as an AES-256 password-protected archive.
- Import: install the plugin on the target site and drag the file into Import. The archive is uploaded in 2–5 MB chunks, so the server's upload limit doesn't get in the way, and every block is verified with a checksum.
- Review the summary: the old address is found in all its forms and replaced without breaking serialized data. At the end you see which address became which, how many replacements were made and in how many tables.
- Log in with the source site's credentials: users now come from the archive, so you sign in with the source site's username and password.
Because the database is imported into temporary tables and only goes live at the very end, an import that stops halfway doesn't damage the live database. Multisite isn't supported in version 1.0. Features can change between versions, so check the current list on the product page, alongside Doruva's other WordPress plugins.
What should you check after the migration?
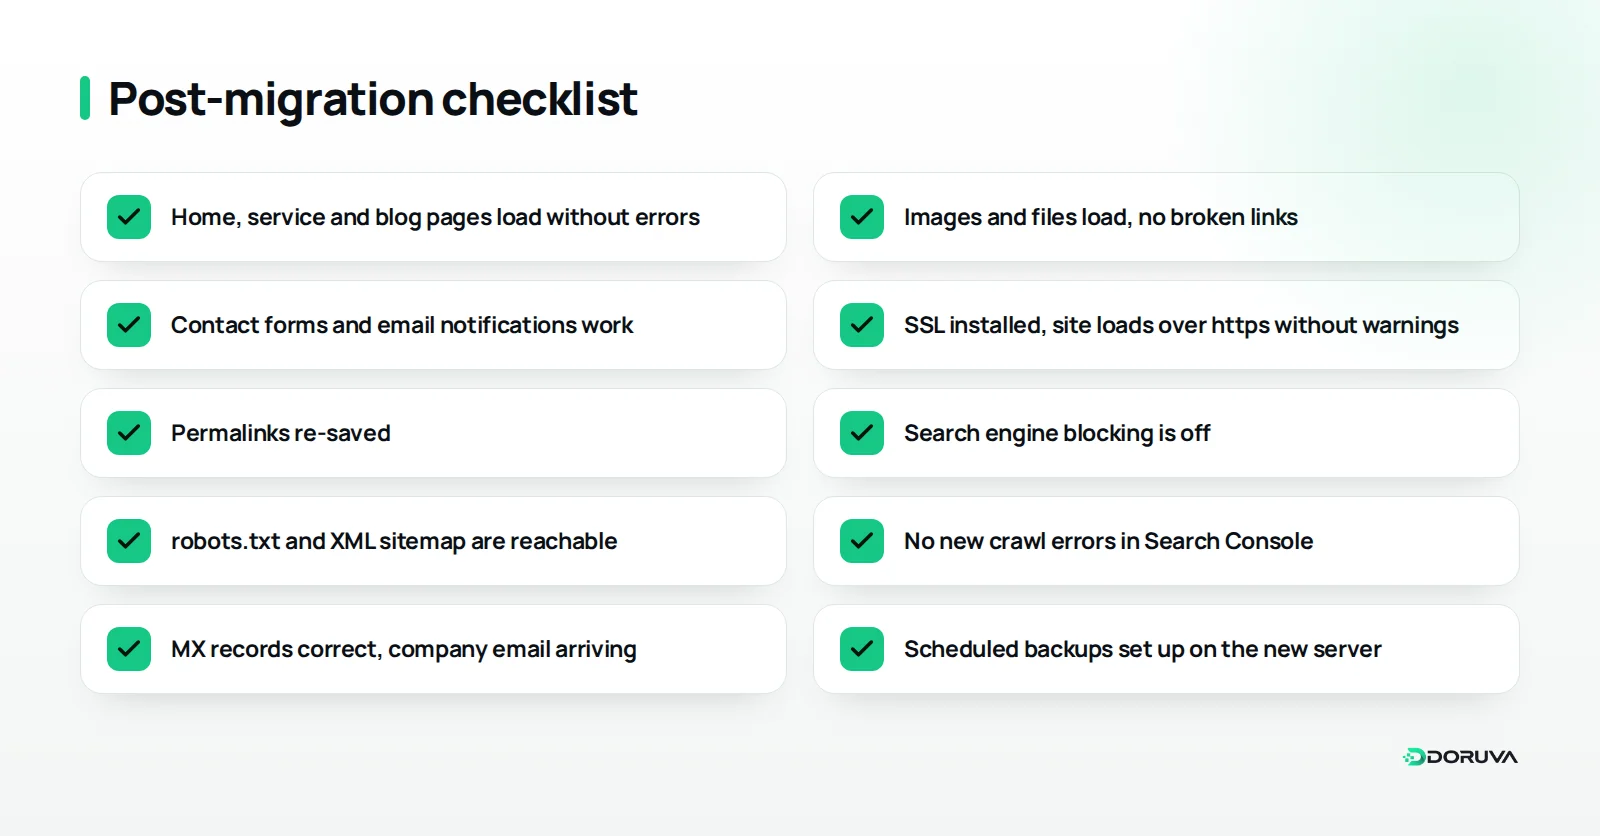
A migration isn't finished when the site loads on the new server; it's finished when every page, form and search signal has been verified. Run these checks straight after the DNS switch and again a few days later.
Protecting your SEO
The golden rule of a host move is that URLs stay the same. Same domain, same permalink structure, same content: to search engines, only the server has changed. After the move, open Settings > Permalinks and click save without changing anything to refresh the rewrite rules.
- Make sure the "Discourage search engines from indexing this site" box under Settings > Reading is unticked; sites coming from staging often have it ticked.
- Check that robots.txt and the XML sitemap load on the new server and watch Search Console for crawl errors.
- If any address did change, redirect the old URL permanently to the new one; our guide to 301 redirects during a redesign covers the details.
- Compare the new server's speed with the old one and run the site through our free SEO checker.
For a fuller review, work through our technical SEO checklist, and confirm your SEO plugin's settings came across intact with the steps in our WordPress SEO settings guide.
Common mistakes
- Starting without a backup: "the old server is still there" stops being true the day the hosting plan expires or a folder gets deleted.
- Running a plain SQL REPLACE: serialized settings break, and widgets and theme options disappear.
- Cancelling the old host too soon: visitors whose DNS hasn't updated yet will see errors.
- Forgetting email: if MX records don't come across with the nameserver change, company mail stops arriving.
- Leaving search engines blocked: the staging setting goes live and the site starts dropping out of search.
- Publishing during the move: orders, comments and form entries that land on the old server never reach the new one.
Summary and next steps
Migrating a WordPress site to a new host is a calm, few-hour job when it's planned well. Take an inventory, make a full backup, lower your DNS TTL, test the site on the new server before switching DNS, use a serialization-safe tool if the address changes, and check your SEO settings one by one afterwards. Whether you choose a plugin or the manual route depends on the size of your site and the server access you have.
If you'd rather hand the migration to a specialist team, or combine it with a redesign, take a look at our web design services or tell us about your project.
Frequently Asked Questions
How long does a WordPress migration take?
It depends on the site's size and the method. A small business site can often be moved in a few hours; the real wait is for the DNS change to reach every visitor.
Will changing hosts hurt my Google rankings?
If the domain, URL structure and content stay the same, only the server has changed and you shouldn't expect a ranking loss. The risk comes from mistakes such as leaving search engines blocked, broken pages or URL changes without redirects.
Can I migrate WordPress for free, without a plugin?
Yes. Copy the files over SFTP or a file manager, copy the database with phpMyAdmin or WP-CLI, and update wp-config.php with the new database details. If the address changes, use a serialization-safe search-and-replace tool.
What are the alternatives to the All-in-One WP Migration unlimited extension?
You can raise the PHP upload limit in your hosting panel, use an installer script uploaded over SFTP, pick a plugin that uploads in chunks, or migrate manually or with WP-CLI.
When should I cancel my old hosting after migrating?
Keep the old account until the DNS change has reached all visitors and you're sure everything works on the new server. Download one last full backup before you cancel.